So, I decided to take a break from my rants about bad pickup lines and all that. It appears I do have other hobbies, besides going on rants. Who know?
A little interesting (or maybe not interesting) fact about me is I love crafting. I've enjoyed it my entire life and I have my dear mother to thank for this little gift. I have the fondest memories of us sitting at the kitchen table making crafts, in the kitchen making Christmas candy and all sorts of fun little projects. I really had the best childhood. Such sweet memories. A little craft we did when I was little was embossing stationary. Have you heard of this? It's been around forever, so you may have. I've been wanting to do it a little DIY blog entry and I was trying to find something fun, easy and cute. I have another DIY idea that I'm going to blog about next week, but it's one of those that takes awhile. You may not do the whole stationary thing, but you can pretty much emboss anything with a paper surface, except toilet paper. Although, I've never tried that, so I could be wrong. It's been such a long time since I've embossed (I was about 8 when I did this). Out of the clear blue I remembered this little craft project at lunch today and asked my mom to run me through it again. It was really cute to see her expression that I remembered it. I'm thinking we might be having some grownup embossing craft nights, in the near future. I made a quick trip to Michael's and I was amazed at all of the tools and cool things they have for embossing, now. Apparently, it's not just something they did when I was a little kid. I played around with it for awhile, tonight and picked it right back up. Now, that I'm excited about it again, I'm probably going to be embossing anything I can get my hands on. So, who's ready to learn how to emboss?
What you'll need:
*Top Boss Tinted Embossing Stamp Pad
(You can use a regular ink pad, but to really enhance it, I suggest the tinted pad. I got mine at Michael's.)
*Stamp of your choice
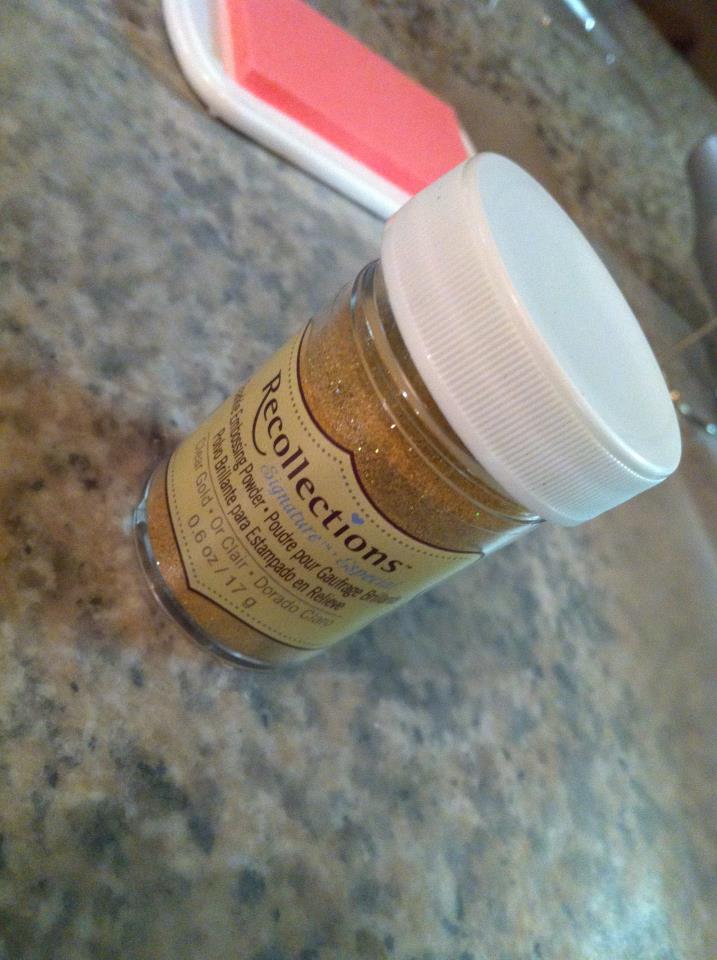
*Embossing Powder
(For shine and an extra pop, I used sparkle.)
*Stationary Cards, Paper, Note Cards, etc.
(Blank is the best, but depending on how creative you are, any paper can work.)
*Embossing Heat Gun
(Mine is a Marvy and I bought it at Michael's. They're around $24 but I used a coupon and got it half off. I will say that the old fashion way is free, but it's been so long I don't know how much more time is involved. You can use an electric stovetop for this procedure. More on that later.)
*Scrap paper (to shake the embossing powder on)
*Wax paper

You're going to want to lay out wax paper to protect whatever surface you're working on. If you're working on a craft table, it may not matter. Next you're going to want to get your stationary of choice and stamp pad ready. This was my choice. I love birds and thought this Tiffany blue card set was perfect. The possibilities are endless.

You're going to want to keep everything close. This tinted embossing ink pad is slow drying, so you'll have ample time to apply the embossing powder, but I like to have ready and within an arm's reach, just in case.
My stamp of choice was bigger than the ink pad. No problem, though. I just coated the entire thing, thoroughly.


The next step after applying your stamp to your stationary is applying the embossing powder.
Once you've applied the stamp, liberally apply the embossing powder. Coat the entire stamped project.


Once you've covered the entire stamped project, it's now time to shake the excess off. This is where your scrap piece of paper is useful. I don't recommend trying to pour it back into the jar, or you could have a big mess. I prefer a scrap piece of paper. You may have to blow any excess powder off that doesn't shake off on your scrap piece of paper.

Looking pretty, isn't it? I was excited when I started seeing the outcome. It's not done yet, though. Next you're going to apply heat. They didn't have the embossing guns around when I was little, which is why we used an electric stovetop. If you do use heat from the stovetop (electric NOT gas or you'll have more then embossing on your hands), you place it over at about a 45 degree angle, a few inches from the project. This goes for the same with the embossing gun, except it's so much faster. Here's a little video on me using the embossing gun.

This is not a long process, so only allow the heating gun to heat each area until you see the stamped project shine and rise. Applying the heating gun to one are too long can result in over embossing and burn the paper, leaving a yellow tint. Not too pretty. Once you're done heating, turn off the heating gun and you should have a nice result, such as this...

My lighting is really bad, but here's a little peak at how mine turned out.


The possibilities are endless with embossing. You can do party invites, thank you notes, greeting cards, scrapbooking, the list goes on. Good luck with your embossing project!
Cheers!
Charity
I'm embossing with a machine. This sounds very interesting. Thanks for posting this. Hopefully there's more to come. I'd like to see how to do the fabric flowers too.
ReplyDelete